ADSL2+ PCI Card - Single Port ADSL Modem - Annex A
PCI Card
http://linitx.com/product/12181
This is a single port ADSL2+ Modem on a PCI card. It is seen by the host system as a Realtek 10/100 Network Port (RTL8100CL) and is configurable via a web interface or Telnet.
Limitations
ipv6 is not supported.
linitx mentions:
PCI or LAN Interface - Set via onboard jumpers
but modifying jumpers is not sufficient: in order to enable the LAN interface instead of the PCI interface, an external power source must be used with the 6 pins header located near connector pin out. Because cable is not provided (like a 4 pins molex <-> 6 pins) you will not be able to use the RJ45 interface !
Using PCI interface
Once card added, it appears like a Realtek 8139 pci card:
$ lspci
...
06:03.0 Ethernet controller: Realtek Semiconductor Co., Ltd. RTL-8139/8139C/8139C+ (rev 10)
...
$ dmesg
[    1.340686] 8139too Fast Ethernet driver 0.9.28
[    1.340777]   alloc irq_desc for 16 on node -1
[    1.340783]   alloc kstat_irqs on node -1
[    1.340798] 8139too 0000:06:03.0: PCI INT A -> GSI 16 (level, low) -> IRQ 16
[    1.342475] eth1: RealTek RTL8139 at 0xffffc90010a2ec00, 00:05:b4:09:ee:6a, IRQ 16
There is a Linux 2.4.31 embedded on the pci card. After configuring the new ethernet card, you can access to this system using 192.168.0.1 ip.
Configuration
On Debian you can edit /etc/udev/rules.d/70-persistent-net.rules in order to rename "ethX":
...
# PCI device 0x10ec:0x8139 (8139too)
SUBSYSTEM=="net", ACTION=="add", DRIVERS=="?*", ATTR{address}=="00:05:b4:09:ee:6a", ATTR{dev_id}=="0x0", ATTR{type}=="1", KERNEL=="eth*", NAME="wan"
...
Add ip:
ip a add 192.168.0.254/24 dev wan
Set interface up:
ip link set up dev wan
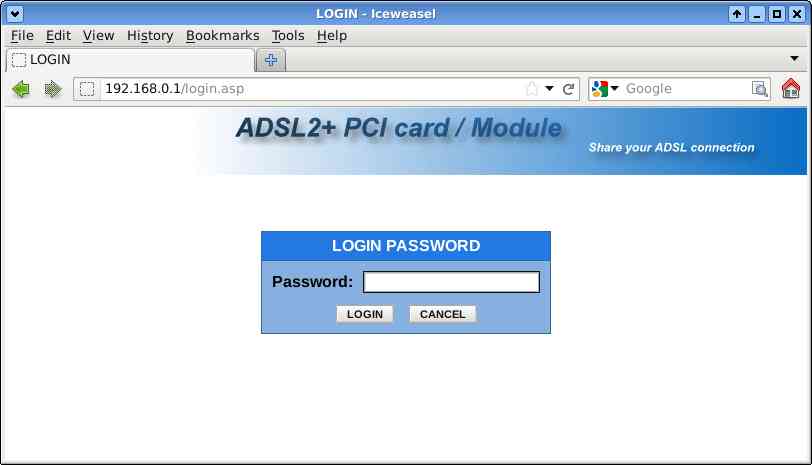
Now you can access to the interface configuration using: http://192.168.0.1
If card is inserted on a PC which haven't X configured (ie an headless host)
                                   ---------------------------------------                   ------------------------------------
                                   - Headless host with:                 -                   - Host able to run web browser     -
                                   -                                     -                   -                                  -
telephone line <-- RJ-11 cable -----> ADSL2+ PCI Card wan - 192.168.0.10 -                   -                                  -
                                   -                                     -                   -                                  -
                                   - Network card eth0 - 192.168.1.254  <--- ethernet cable --> 192.168.1.25 eth0 network card -
                                   ---------------------------------------                   ------------------------------------
On the headless host:
sysctl -w net.ipv4.ip_forward=1

# NAT
iptables -t nat -A POSTROUTING -o wan -j SNAT --to-source eth0 --random -m comment --comment "LAN->WLAN"

# Forward
iptables -t filter -A FORWARD -i eth0 -o wan -j ACCEPT -m comment --comment "LAN->WLAN"
iptables -t filter -A FORWARD -i wan -o eth0 -m state --state ESTABLISHED,RELATED -j ACCEPT -m comment --comment "LAN->WLAN"
On the other host:
ip a add 192.168.1.25/24 dev eth0
ip r add default via 192.168.1.25
Other host is now able to access to 192.168.0.1 (default password is `admin`)
Enable telnet access
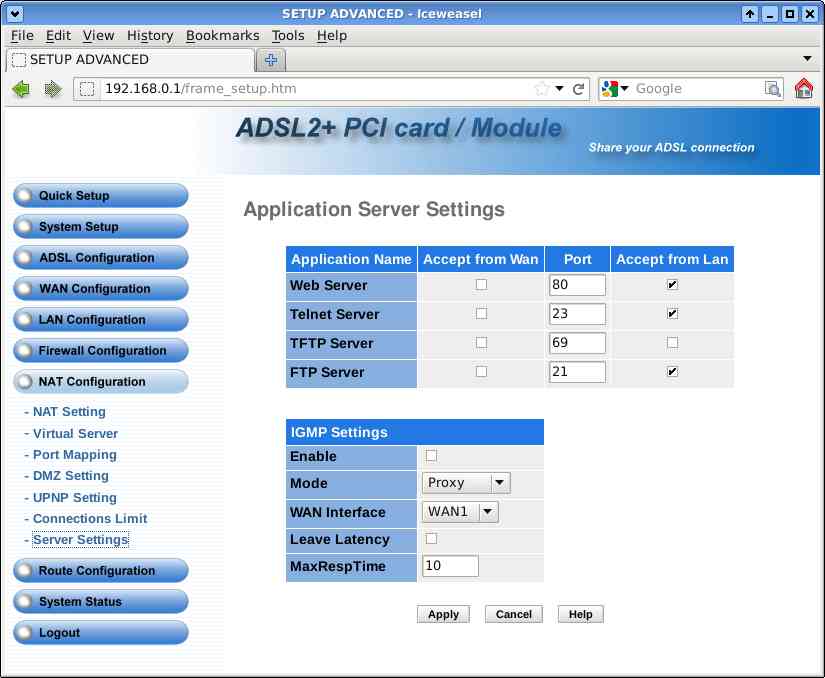
telnet daemon can be enabled in "NAT Configuration" -> "Servers settings"
Now you can access to Linux embedded on the PCI card using telnet:
$ telnet 192.168.0.1
Trying 192.168.0.1...
Connected to 192.168.0.1.
Escape character is '^]'.
Danube login: root
Password:


BusyBox v1.00 (2008.08.04-09:35+0000) Built-in shell (msh)
Enter 'help' for a list of built-in commands.

# uname -a
Linux localhost.localdomain 2.4.31-Danube-3.0.5g-A2PCI #8 �@ 8�� 4 17:34:46 CST 2008 mips unknown

